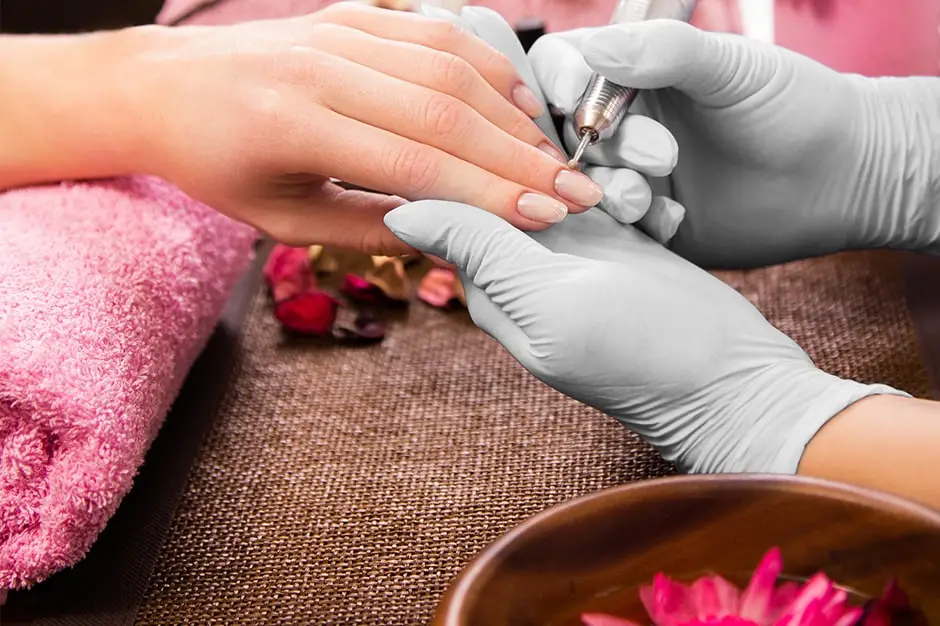
Nail drill bits
Drill bits can be incredibly helpful in our work, but with so many different types available, it's easy to get lost in figuring out their specific uses and how to clean them. Let's go through these aspects one by one.
CARBIDE, DIAMOND AND STONE BITS
It is crucial to differentiate drill bits based on their materials since it largely determines their purpose and usage. Carbide bits, thanks to their special material, generate less heat compared to traditional sanding bands. They also have a significantly longer lifespan, lasting for months or even years of effective use. The surface of carbide bits is etched, meaning it has a grooved texture without any additional coating. These bits are primarily used for removing and thinning artificial nails and gel polish. The smaller versions are ideal for lifting cuticles.
Diamond bits have a thin coating on their surface, resulting in a rough texture similar to a fine file. We commonly use these bits for removing and cleaning cuticles and thinning dry skin.
Stone bits are primarily used during pedicures for refining the skin and removing excess cuticles. Essentially, they can be considered another version of diamond dust bits. Due to their softer and less resistant material, we need to handle stone bits delicately on the nail plate to avoid premature wear and loss of efficacy.
WHICH SHAPE SHOULD I CHOOSE?
In addition to the material of the grinding bits, the shape also determines their function. Cylinder-shaped wide bits are mainly used for thinning and removing artificial nails and gel polish (e.g., Grinding Bit - Silver, for acryl PNG4053). Rounded cylinder bits allow for safe work near the skin (e.g., Galaxy Nail Drill Bit - Rounded Head, Cylindrical Drill Bit - for Removal PNG4115). Narrower cylinder-shaped bits easily fit into the sidewalls of the nail, making them suitable for filing out liftings during fillings or for final refinement at the end of product application (e.g., Grinding Bit - Carbide narrow cylinder PNG4064).
Cone-shaped bits are excellent for surface refinement, thinning areas near the skin and even for filing the free edge side, whether it's correction thinning, lower steps or removing of the natural nail plate (e.g., Grinding Bit - Carbide pointed cone PNG4062).
Larger versions of cone bits can be used for material removal and thinning, as their wide body effectively removes material from most parts of the nail, while their narrow tip easily reaches areas near the skin (e.g., Grinding Bit - Large lamellar PNG4060). With the smaller version, we can easily lift cuticles, make more effective cuticle removing (e.g., Grinding Bit - Carbide small ball PNG4056).
Flame-shaped bits are primarily used for lifting cuticles and cleaning the excess cuticle area. Their thin tip reaches the deeper parts of cuticle, removing dry skin, while their wide body creates distance between the nail plate and the cuticle, makes more clean product application (e.g., Galaxy Bit - Diamond Dust hammer - for manicures PNG4114).
CLEANING
Physical cleaning is a crucial first step in removing dust, skin, and residue from the drill bits. For carbide and etched heads, feel free to use a metal cleaning brush (PNSE719), which, thanks to its strong bristles, can remove residue even from the grooves. However, when it comes to diamond and stone bits, we need to be cautious as the metal brush may remove the diamond dust coating. Clean these bits with a strong nail brush instead.
As the second step, apply a disinfectant. For spray versions, use a spraying technique; for liquid versions, soak the bits or consider using an ultrasonic cleaning method. It is important to always follow the recommended exposure time and check whether the disinfectant needs to be rinsed or wiped off the metal tools to avoid causing any damage.
Author:
Évi Darabos


