Problematic nails that pose challenges. Recommended techniques – Part 1
Problematic nails can be a nightmare for beginners, especially inexperienced professionals. Without adequate experience, the finished nails may lack beauty and durability, further undermining the already uncertain self-confidence of a novice. Let's explore some tips that can help handle these issues step by step.
BITTEN NAILS
Bitten nails can be challenging for several reasons, primarily for inexperienced professionals. Working on short and wide nail beds is required, where the cuticle around the nail is often thickened. The nail plate is deeper at the corners or the entire fingertip, and often there is a thick, overgrown cuticle to deal with.
Let's look at how to address these areas step by step:
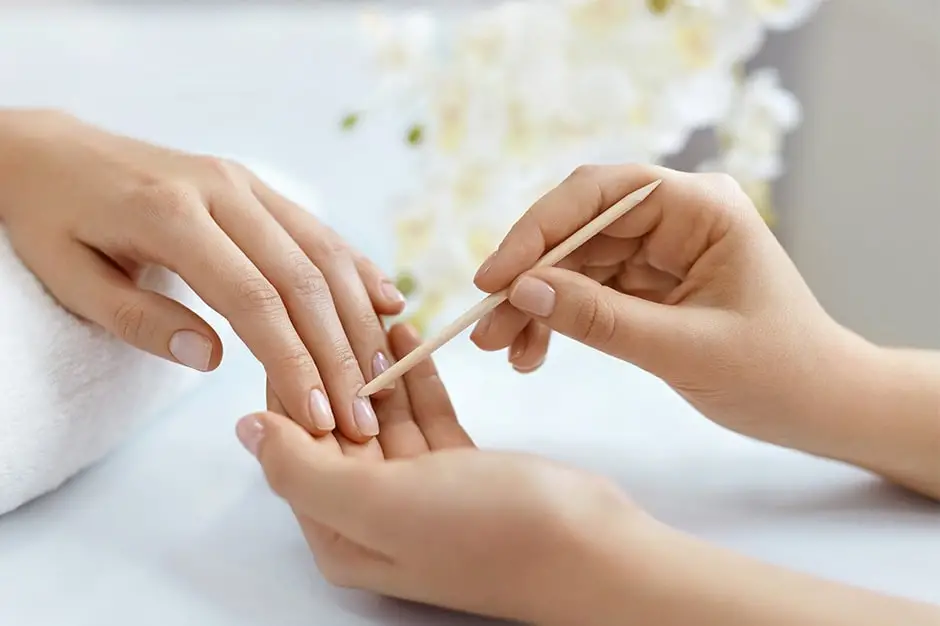
CUTICLE AND SKIN SURROUNDING THE NAIL:
- Use cuticle remover or softening liquid to lift the thickened and tightly adhered cuticle. With a small diamond bit, reach under the skin in multiple steps and gently lift it. Trim off the excess and repeat until all excess skin is removed. Simultaneously, carefully remove the excess, hardened skin around the nail corners.
- With the cuticle lifted and the skin cleared, you have a larger nail surface. Thoroughly but gently buff the surface, paying special attention to the areas around the cuticles.
BASE LAYER FOR TIP APPLICATION:
- If hyponychium is higher than the level of the nail plate, apply a medium-thick layer of fiberglass gel to both the nail and hyponychium, right to the end of the fingertip. Work with less material at a time, with a thinner layer, and repeat. After curing, wipe off the tacky layer with a gel cleaner. Then, carefully separate the skin from the gel, shaping the material as if it were the natural nail free edge. Buff the surface with a buffer. This creates a base layer where you can fit the paper form under and create a short, 1-2mm free edge. Do not make longer than this because it will compromise the stability of the nail during growth.
- On the base layer made with gel, you can create any type of nail, whether from a strong builder gel or polyacrylgel. However, besides length, it's crucial to choose a shape that suits the guest's finger and nail shape, whether it's a slightly narrowing square or a round shape, depending on the guest's finger and nail shape. Almond shape is popular due to its narrowing, but the strong narrowing of the side lines may result in a structurally weak nail. For the first time, it's better to stick to the round shape, where the parallel sides are better preserved.
REVERSE TIP:
Another solution is to use the reverse technique, creating a short nail that just reaches beyond the fingertip with acrylic, polyacrylgel, or dense builder gel. In this case, make sure to choose the width of the tip appropriately. In some cases, you may need to press the tip more firmly onto the surface to shape the corner points properly.
FULL COVERAGE TIP:
A super-fast and straightforward solution for extending bitten nails, as the tip adheres well to the nail plate with adequate pressure and provides strong support at the corner points. Pay extra attention to raising and cleaning the cuticles and shaping the tip to match the cuticle area. Also, adhere to a safe length, about 1-2 mm longer than the fingertip, when extending the length.
REFILLS:
Regardless of the technique used, refills are needed at most every two weeks. The short nail bed provides a very unstable base for the nail, and except for the full-coverage tip (for example Full Coverage Gel Artificial Nail Tip - Ballerina Medium), where the front fold of the skin forms the bottom surface of the nail, the unevenness results in variable thickness. Especially in stress points, the nail becomes thinner and weaker, and this needs correction during refills.
Author:
Évi Darabos
