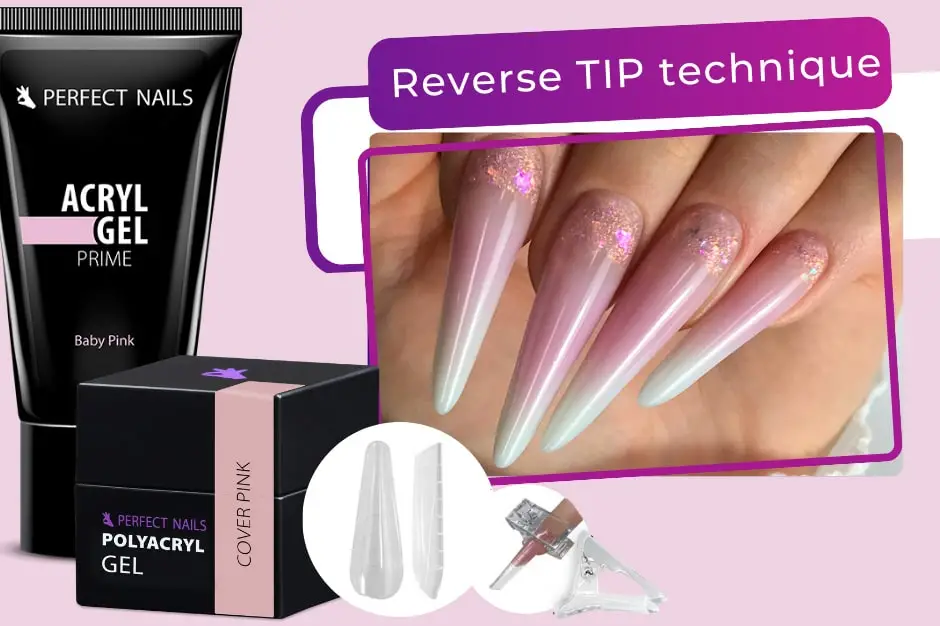
Reverse technique: Tips & tricks, everything you need to know
The arrival of the reverse technique has opened up many new possibilities for us, especially in cases where the standard sculpting on form technique is not our favorite. What difficulties and pitfalls does it hide, and what should we pay attention to? Let's take a look!
MATERIAL SELECTION
While the reverse technique is most commonly associated with polyacryl gel, you can confidently use it with acrylic or builder gels as well. For acrylic, you can prepare the planned nail inside the tip in advance and, in the last step, apply it to the nail with a thin fresh bead. However, be careful to wait for almost complete curing of the acrylic before popping off the tip. It's advisable to use plastic clips since, with UV-curing materials, you may need to wait a bit longer for the curing process to take place.
With gels, you can freely use softer materials, but in this case, you need to work with multiple layers. These layers fill the tip, and finally, with a smaller amount of material, you can apply it to the nail. For dens materials, even a single layer may be enough if the material holds its shape nicely and does not flow into the middle of the tip.
TIP SELECTION - SIZE
Choosing the right tip is crucial as it determines the durability of the nail. If you choose a tip that is too narrow, there won't be enough material thickness, making the nail prone to breakage. On the other hand, with a tip that is too wide, the material may flow onto the sidewalls, causing air pockets.
When choosing the right tip, consider that from a top view, at the corner points, there should be a distance of at least 0.5 mm but no more than 1 mm between the nail plate and the tip wall on both sides. This is precisely enough space for the appropriate material thickness, which can be finely filed if needed.
TIP SELECTION - SHAPE
In this case, the shape refers to the curvation because, with the reverse technique, it's crucial that the applied tip is in harmony with the natural nail plate. For straight or spoon-shaped nails, you can choose almost any tip (normal flat, more curved, or a balanced point). The nail will take the appropriate material for durability. For convex nails with high apex, however, you need to be extremely careful in selecting the tip. If a much flatter or balanced tip is chosen, which is straighter than the natural nail plate, the two surfaces will separate at the fingertip, and the material in the tip will not contact the nail plate – it practically runs in the air. In such cases, tilting the tip downward is not a solution because it will lift along the cuticle. In this case, it's worth choosing a reverse tip, which is more curved, or using the half-tip version to create the free edge, then making the right surface and thickness as if creating a sculpted base layer. This is no longer the classic reverse technique as surface filing is required.
THINK IN REVERSE
When creating built-in decorations, baby boomer or ombre effects, you need to think in reverse because you're creating the nail from the surface. Start with what will be on the surface: begin with what will be placed in the tip, and deeper layers come later. Therefore, start with materials that are somewhat transparent, such as layers containing glitters, flakes, or, in the case of baby boomer, use slightly translucent pink and use covering colors in deeper layers, including the nail bed extension color and white.
Also, strive to use generally thin layers, especially at the edges and the free edge. The essence of the reverse tip technique is that after removing the tip, you do very minimal filing – more buffing. The nail itself should be thin at the edges and graceful at the corner points. Do you want a perfect final result? Our article titled "Reverse tip guide - For even easier salon work" will show you which of our products you can use to quickly prepare your clients' nails.
Author:
Évi Darabos


