Rhinestone nail art – A guide to long-lasting elegance and sparkle
Rhinestone nail art is one of the most popular requests among clients. And it’s no surprise – sparkling stones bring elegance and shine to any nail design.
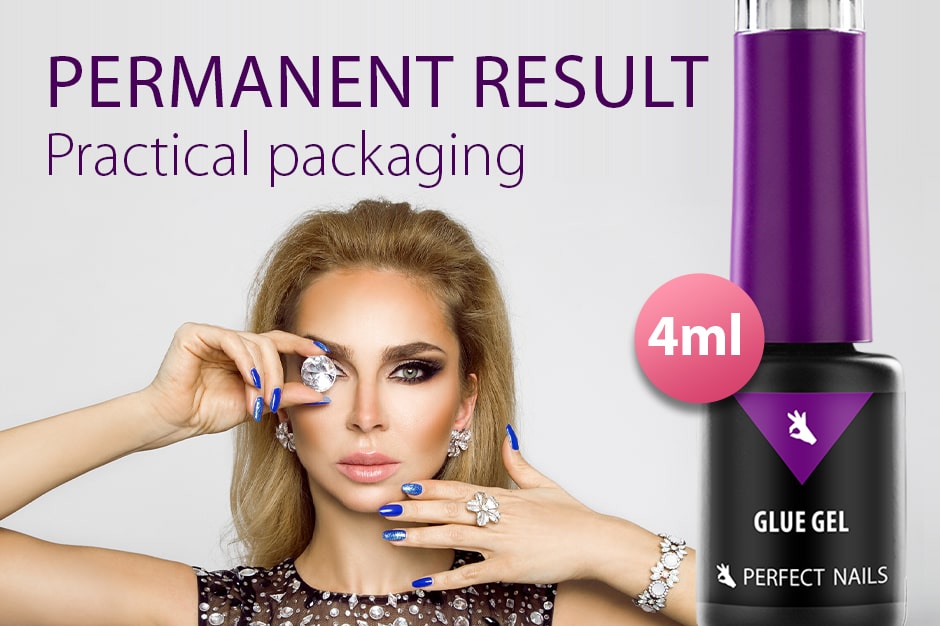
However, securing the stones can often be a challenge. If the technique isn’t durable enough or the topcoat dulls the shine, it can lead to frustration. Let us show you how to achieve long-lasting, dazzling results with our Nail Art - Glue Gel 15ml.
-
Preparation: The key to a perfect base
- Filing: File the nail surface to ensure proper adhesion. If you’re using a no-file technique or decorating gel polish, first cure the material before proceeding.
- Applying Glue Gel: Apply a small amount of Glue Gel to the area where you want to place the rhinestones.
-
Placing rhinestones and beads: Let your creativity shine!
- Securing Rhinestones: Press the rhinestones into the Glue Gel to create a tiny bezel around them. This helps keep the stones firmly in place.
- Using microbeads: If you’d like to include microbeads, mix a small amount of Glue Gel with beads on a silicone pad. Use a fine-tipped brush to apply the mixture into the uncured gel. Then, place beads where rhinestones meet, continue your design, or create arcs! Use the brush tip to gently adjust the beads to your desired position.
-
Ensuring the perfect finish: Cure and protect the sparkle!
- Curing: Once you’re happy with the design, cure the decoration for 10 seconds.
- Applying topcoat: Apply topcoat around the stones and beads, ensuring it doesn’t touch their surfaces. Use a fine brush for precise application. This reinforces the bezel without dulling the stones’ shine.
Want to make your nails the center of attention this holiday season? Check out our article: "Holiday elegance for your nails – Festive inspiration for the season."
Author:
Ágnes Zsoldos


