


How to use and clean your nail drill?

The nail drill machine is extremely important for our everyday work. Appropriate use and maintenance are also essential – not only because the machine is so important for us, but also because of steep prices. Repairs or a new purchase can entail significant costs, even for lower category machines. We have already published tips on how to choose a professional nail drill machine.
Open and close
To open the handpiece, you usually have to twist the middle part. When the handpiece opens, we can pull out the current drill bit and put in a new one. It is important that after pushing the drill bit all the way in, we need to pull it back by 1-2 mm in order to avoid internal friction. This reduces heat generation and protects the internal components of the machine.
Rotation
When using the nail drill, it is essential to set the appropriate rotation speed that matches the task at hand. We use lower rotation speed for nail prep, mid-range speed for removing gel polish, and high speed for shortening artificial nails and removing acrylic or gel.
After you finish working with the drill bit and you turn the rotation dial to zero, make sure to also turn off the machine itself. This is an important step, since keeping the machine continuously on lowers its life expectancy and might even lead to personal injury.
Changing the Direction of Rotation
We need to change the rotational direction quite frequently. In order to do this, always rotate the dial to zero, and wait for the drill bit to stop. Only then should you switch the rotational direction. If you change direction while the drill bit is rotating, you can easily ruin the engine. There are some modern machines that automatically stop the rotation when direction is switched so as to prevent damage to the machine.
Burning sensation
In order to reduce or avoid an uncomfortable burning sensation for the clients during nail drill work, never keep the rotating drill bit at the same place when you work. Make sure to move the drill bit on the surface of the nail horizontally and up/down, and never press it too hard onto the nail. Fine movements and gentle pressure greatly reduce heat generation.
Finishing up
When you are done, remove the drill bit and replace it with the ‘empty’ stick (that has no actual drill bit on it), and close the chuck of the handpiece. It is very important NOT to close the handpiece without an inserted drill bit, otherwise the small components of the chuck might get deformed and damaged.
Cleaning
Everyday cleaning involves the removal of dust from the machine and the handpiece with a soft brush or a piece of cloth dampened with a gentle cleaning solution. Do not use strong, aggressive chemicals as these can damage the surfaces.
Disassembly
We need to acknowledge the fact that nail drill machines are complex devices that should not be disassembled by users. What we can do, however, is to use compressed air in a can and spray over the handpiece from time to time, and spray through the small holes visible on the housing to remove dust from the inside of the machine. If a piece of the housing is removable (usually the rear side), we can remove that and carefully spray away the dust.
This is all we can do. Never disassemble the machine, because the small components – for instance, the tiny bearing balls – might fall out, and you might not be able to put these back in place, so the machine will need to be serviced.
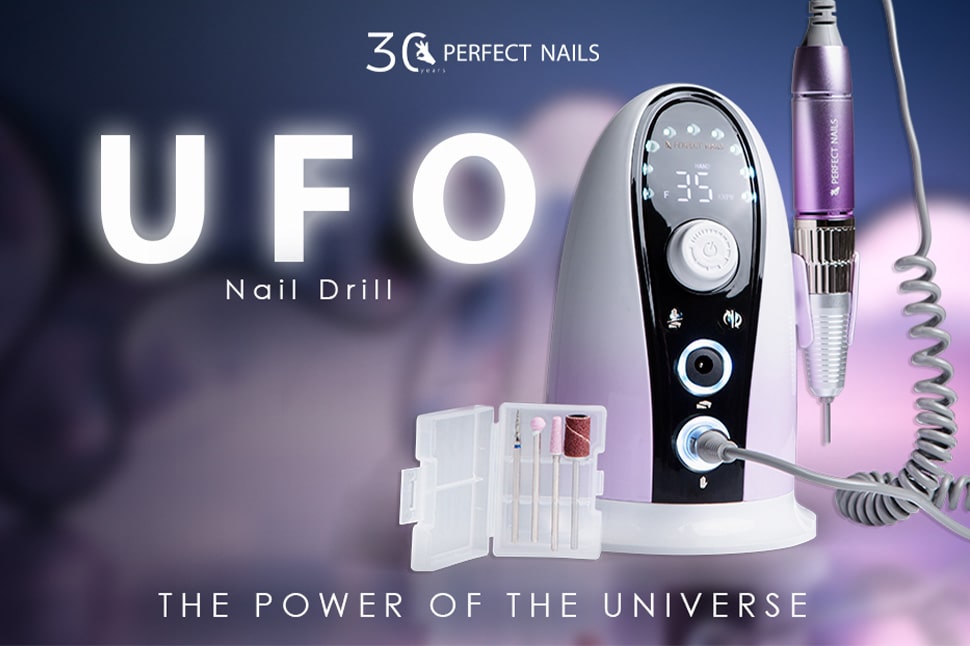
It is clear that by paying attention to certain things, we can protect our machine from damage, so it can serve us well for a long time. Are you ready to try out a new professional nail drill machine? Consider our Nail Drill Touch or UFO Nail Drill!
No posts found
Write a review- Don't compromise! – HEMA FREE product line right from the basics
- Nail drill guide – Which one would you choose?
- Unmissable gel nail polish collections in spring trend colors
- Big brush guide: When to use which? – Part 2
- Retro colors reimagined - The New 90’s
- Reverse tip guide - For even easier salon work
- Stand out from the crowd! - Top Model
- Problematic nails that pose challenges. Recommended techniques – Part 2
- New arrivals for spring
- HEMA-Free product line
- Dazzle your guests with the latest trend colors!
- What shades look good on your nails? – Part 1
- Social media – Tips and tricks
- Big brush guide: When to use which one? – Part 1
- Gel, acrylic, or acrylgel? Which one should I choose?

© 1992 - 2024 Perfect Nails Company